Homemade hazelnut chocolate spread is a smooth, spoonable spread made from roasted hazelnuts blended with cocoa powder, maple syrup, a little milk or oil, vanilla, and a pinch of salt. It takes ten minutes of hands on time, roasts for eight, and makes about one cup, enough for twelve generous servings.
Roasting the nuts brings out their oils and sweetness, and a strong blender turns them from crumbs into butter and then into a glossy spread. You control the sugar, so the spread is less sweet than store bought jars, and you can use maple syrup or another sweetener. It spreads on toast, swirls into oatmeal, and fills crepes and cookies.
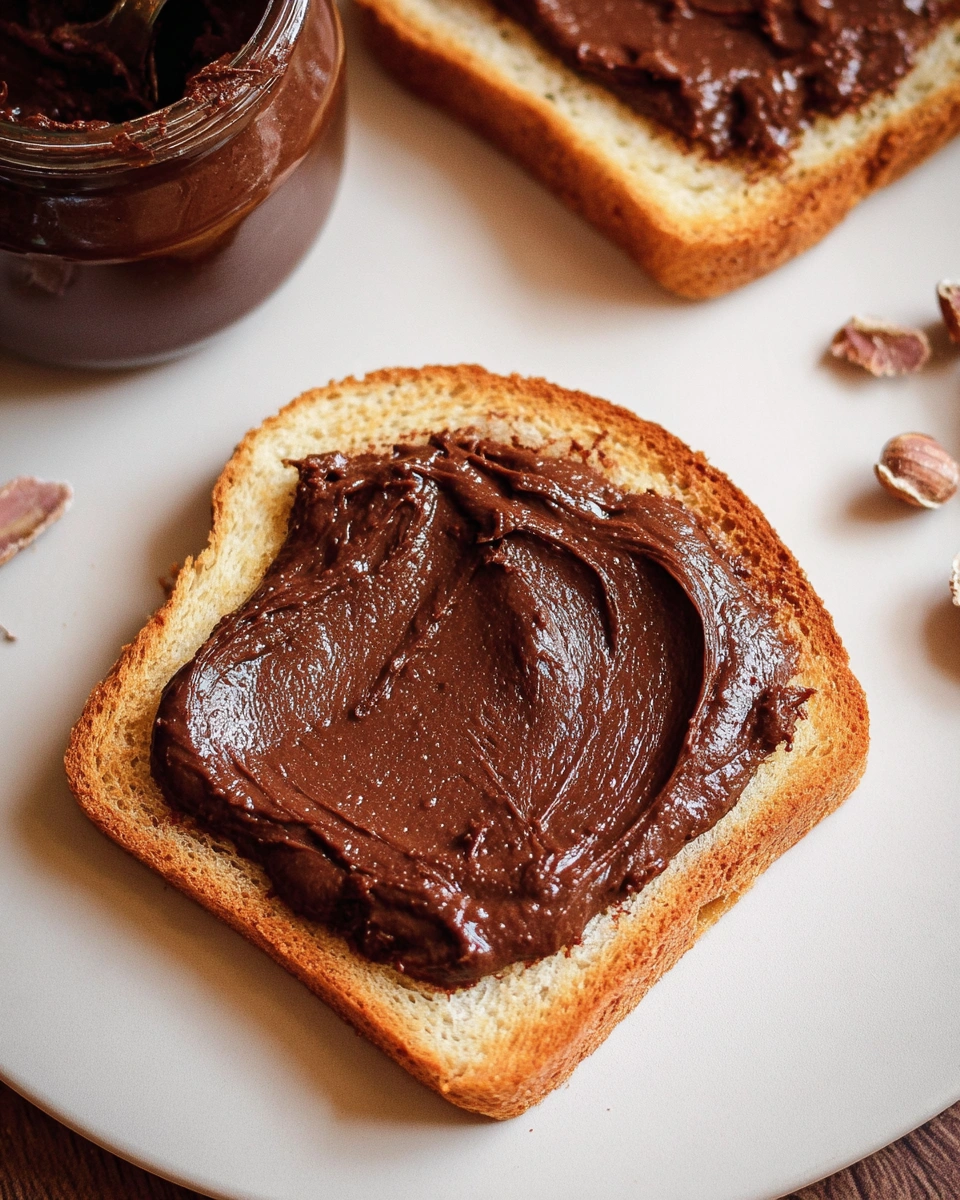
Table of Contents
Why This Homemade Hazelnut Chocolate Spread Recipe Works
Only a few ingredients and a blender are needed.
You choose the sweetener and the amount.
The spread keeps for two weeks and tastes fresher than a jar.
What Goes into Homemade Hazelnut Chocolate Spread
- The base is one cup of raw hazelnuts, a quarter cup of unsweetened cocoa powder, and one third of a cup of maple syrup.
- The finishing touches are two tablespoons of milk or neutral oil, half a teaspoon of vanilla extract, and a pinch of salt.
Hazelnuts. They provide the nutty body and the oils.
Cocoa powder. It adds deep chocolate flavor.
Maple syrup. It sweetens and loosens the spread.
Milk or oil. It makes the texture silky.
Salt. It sharpens the flavor.
Making Homemade Hazelnut Chocolate Spread Step by Step
1. Roast the nuts. Heat the oven to 400 degrees F, spread the hazelnuts on a baking sheet, and roast for six to eight minutes until fragrant.
2. Skin the nuts. Wrap the warm nuts in a clean towel and rub them to remove most of the skins.
3. Blend the nuts. Process the hazelnuts in a high speed blender or food processor for several minutes, scraping the sides, until a smooth butter forms.
4. Add the rest. Add the cocoa, maple syrup, milk or oil, vanilla, and salt and blend until glossy.
5. Jar it. Spoon the spread into a clean jar and let it cool before covering.
Be patient with the blending. The nuts go through a crumbly stage, then a thick paste, and finally a pourable butter, and the whole process can take five minutes or more. Stop to scrape the sides every minute, and give a small food processor short breaks, since it can get hot.
Do not skip the toasting. Raw hazelnuts taste mild and a bit bitter, while roasted ones are sweet and rich. Watch them closely in the last two minutes, because they go from golden to scorched fast. Skins that stay on give a slightly bitter edge, so rub off as many as you can.
Pro Tips for Homemade Hazelnut Chocolate Spread
Flag the allergens. This spread contains tree nuts, and the milk option adds dairy, so check every label on the cocoa and milk.
Taste the spread. Taste it before jarring and add more syrup or a pinch of salt until it suits you.
Check the texture. It should be smooth and pourable when warm, and thicker once cooled.
Use a strong blender. Weak motors leave grit.
Add a little oil. It loosens a stiff spread.
Try honey. It gives a different sweetness.
Cool before sealing. It prevents condensation.
Check trusted guidance. Read the FDA safe food handling guidance for handling homemade spreads and nut products.
For a sweeter spread, add two more tablespoons of maple syrup or a spoonful of powdered sugar. For a richer one, use milk chocolate in place of some cocoa, melted and stirred in. For a dairy free spread, use oil in place of milk, and for a less sweet one, cut the syrup to a quarter cup.
You can make the spread with other nuts such as almonds or cashews, using the same method. Almonds roast in about ten minutes and need no skinning. A spoonful of espresso powder deepens the chocolate flavor, and a pinch of cinnamon adds a gentle spice that works well in baked goods.
Storing Homemade Hazelnut Chocolate Spread
Store the spread in a clean airtight jar in the refrigerator for up to two weeks if you used milk, or at room temperature for up to two weeks if you used oil. The spread firms up when cold, so let it stand for fifteen minutes or stir it before use. Freeze it in small jars for up to three months.
What to Serve with Homemade Hazelnut Chocolate Spread
Serve the spread on toast, pancakes, waffles, fruit, or a spoon straight from the jar. For more ways to use it, try chocolate hazelnut swirl muffins, hazelnut puff pastry croissants, no bake hazelnut cream pie, or chocolate hazelnut crescent rolls.
FAQ About Homemade Hazelnut Chocolate Spread
How do you make homemade hazelnut chocolate spread smooth?
Blend the roasted nuts long enough to turn into butter.
Can you make homemade hazelnut chocolate spread ahead of time?
Yes. It keeps for two weeks.
Can you freeze homemade hazelnut chocolate spread?
Yes, for up to three months.
Can I use a different sweetener?
Yes. Honey and coconut sugar both work.
Why is my spread grainy?
The nuts need more blending.
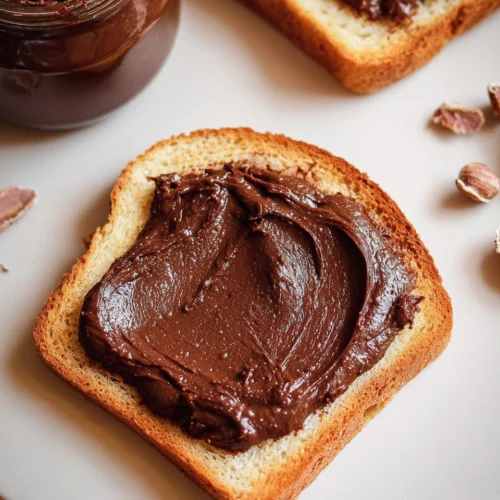
Homemade Hazelnut Chocolate Spread
Equipment
- Baking sheet
- High speed blender
- Clean jar
Ingredients
Main Ingredients
- 1 cup raw hazelnuts
- ¼ cup unsweetened cocoa powder
- ⅓ cup maple syrup
- 2 tbsp milk or neutral oil
- ½ tsp vanilla extract
- 1 pinch salt
Instructions
Cooking
- Roast. Roast the hazelnuts at 400 F for 6 to 8 minutes.
- Skin. Rub off the skins in a towel.
- Blend. Blend the nuts into a smooth butter.
- Add. Blend in the cocoa, syrup, milk, vanilla, and salt.
- Jar. Cool and store in a jar.